My NZ Criminal Conviction History (police clearance) arrived by mail today.
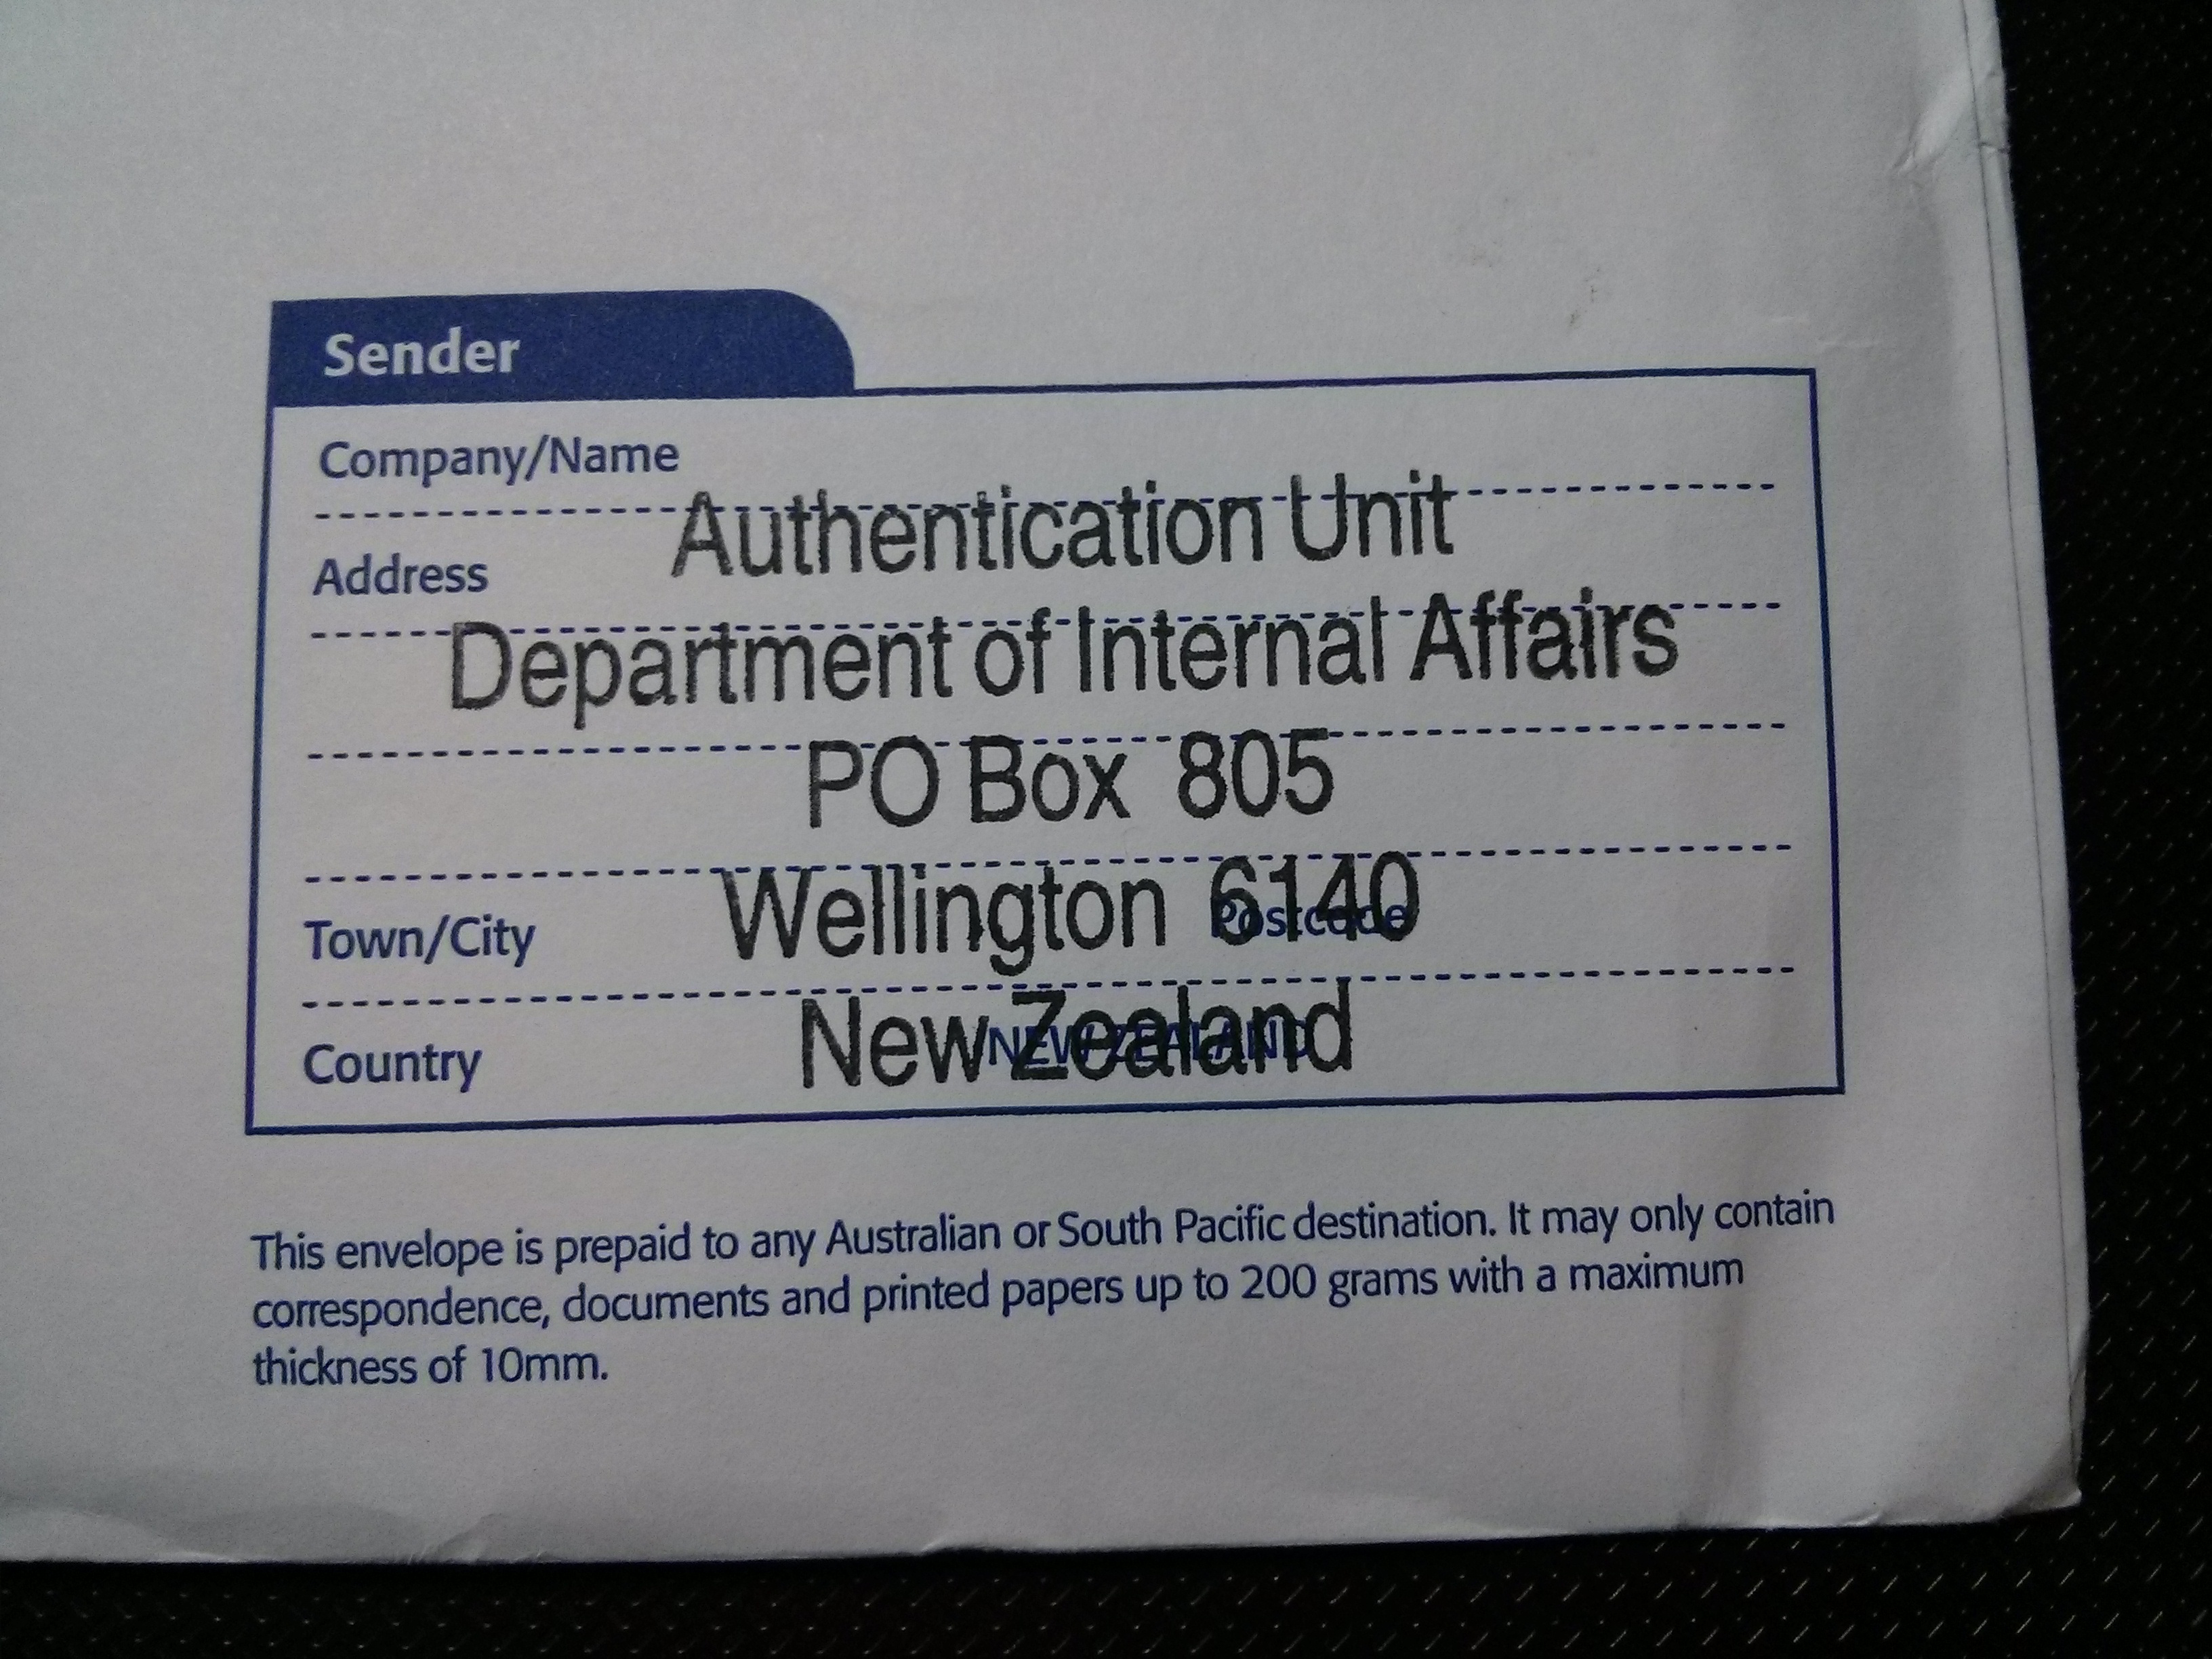
Clearance from the Department of Internal Affairs (I had it authenticated)
I photocopied it and took the original and photocopy to the post office to send to the US Consulate, as requested. Now all I have to do is hope my outstanding police clearance makes it to the Consulate.
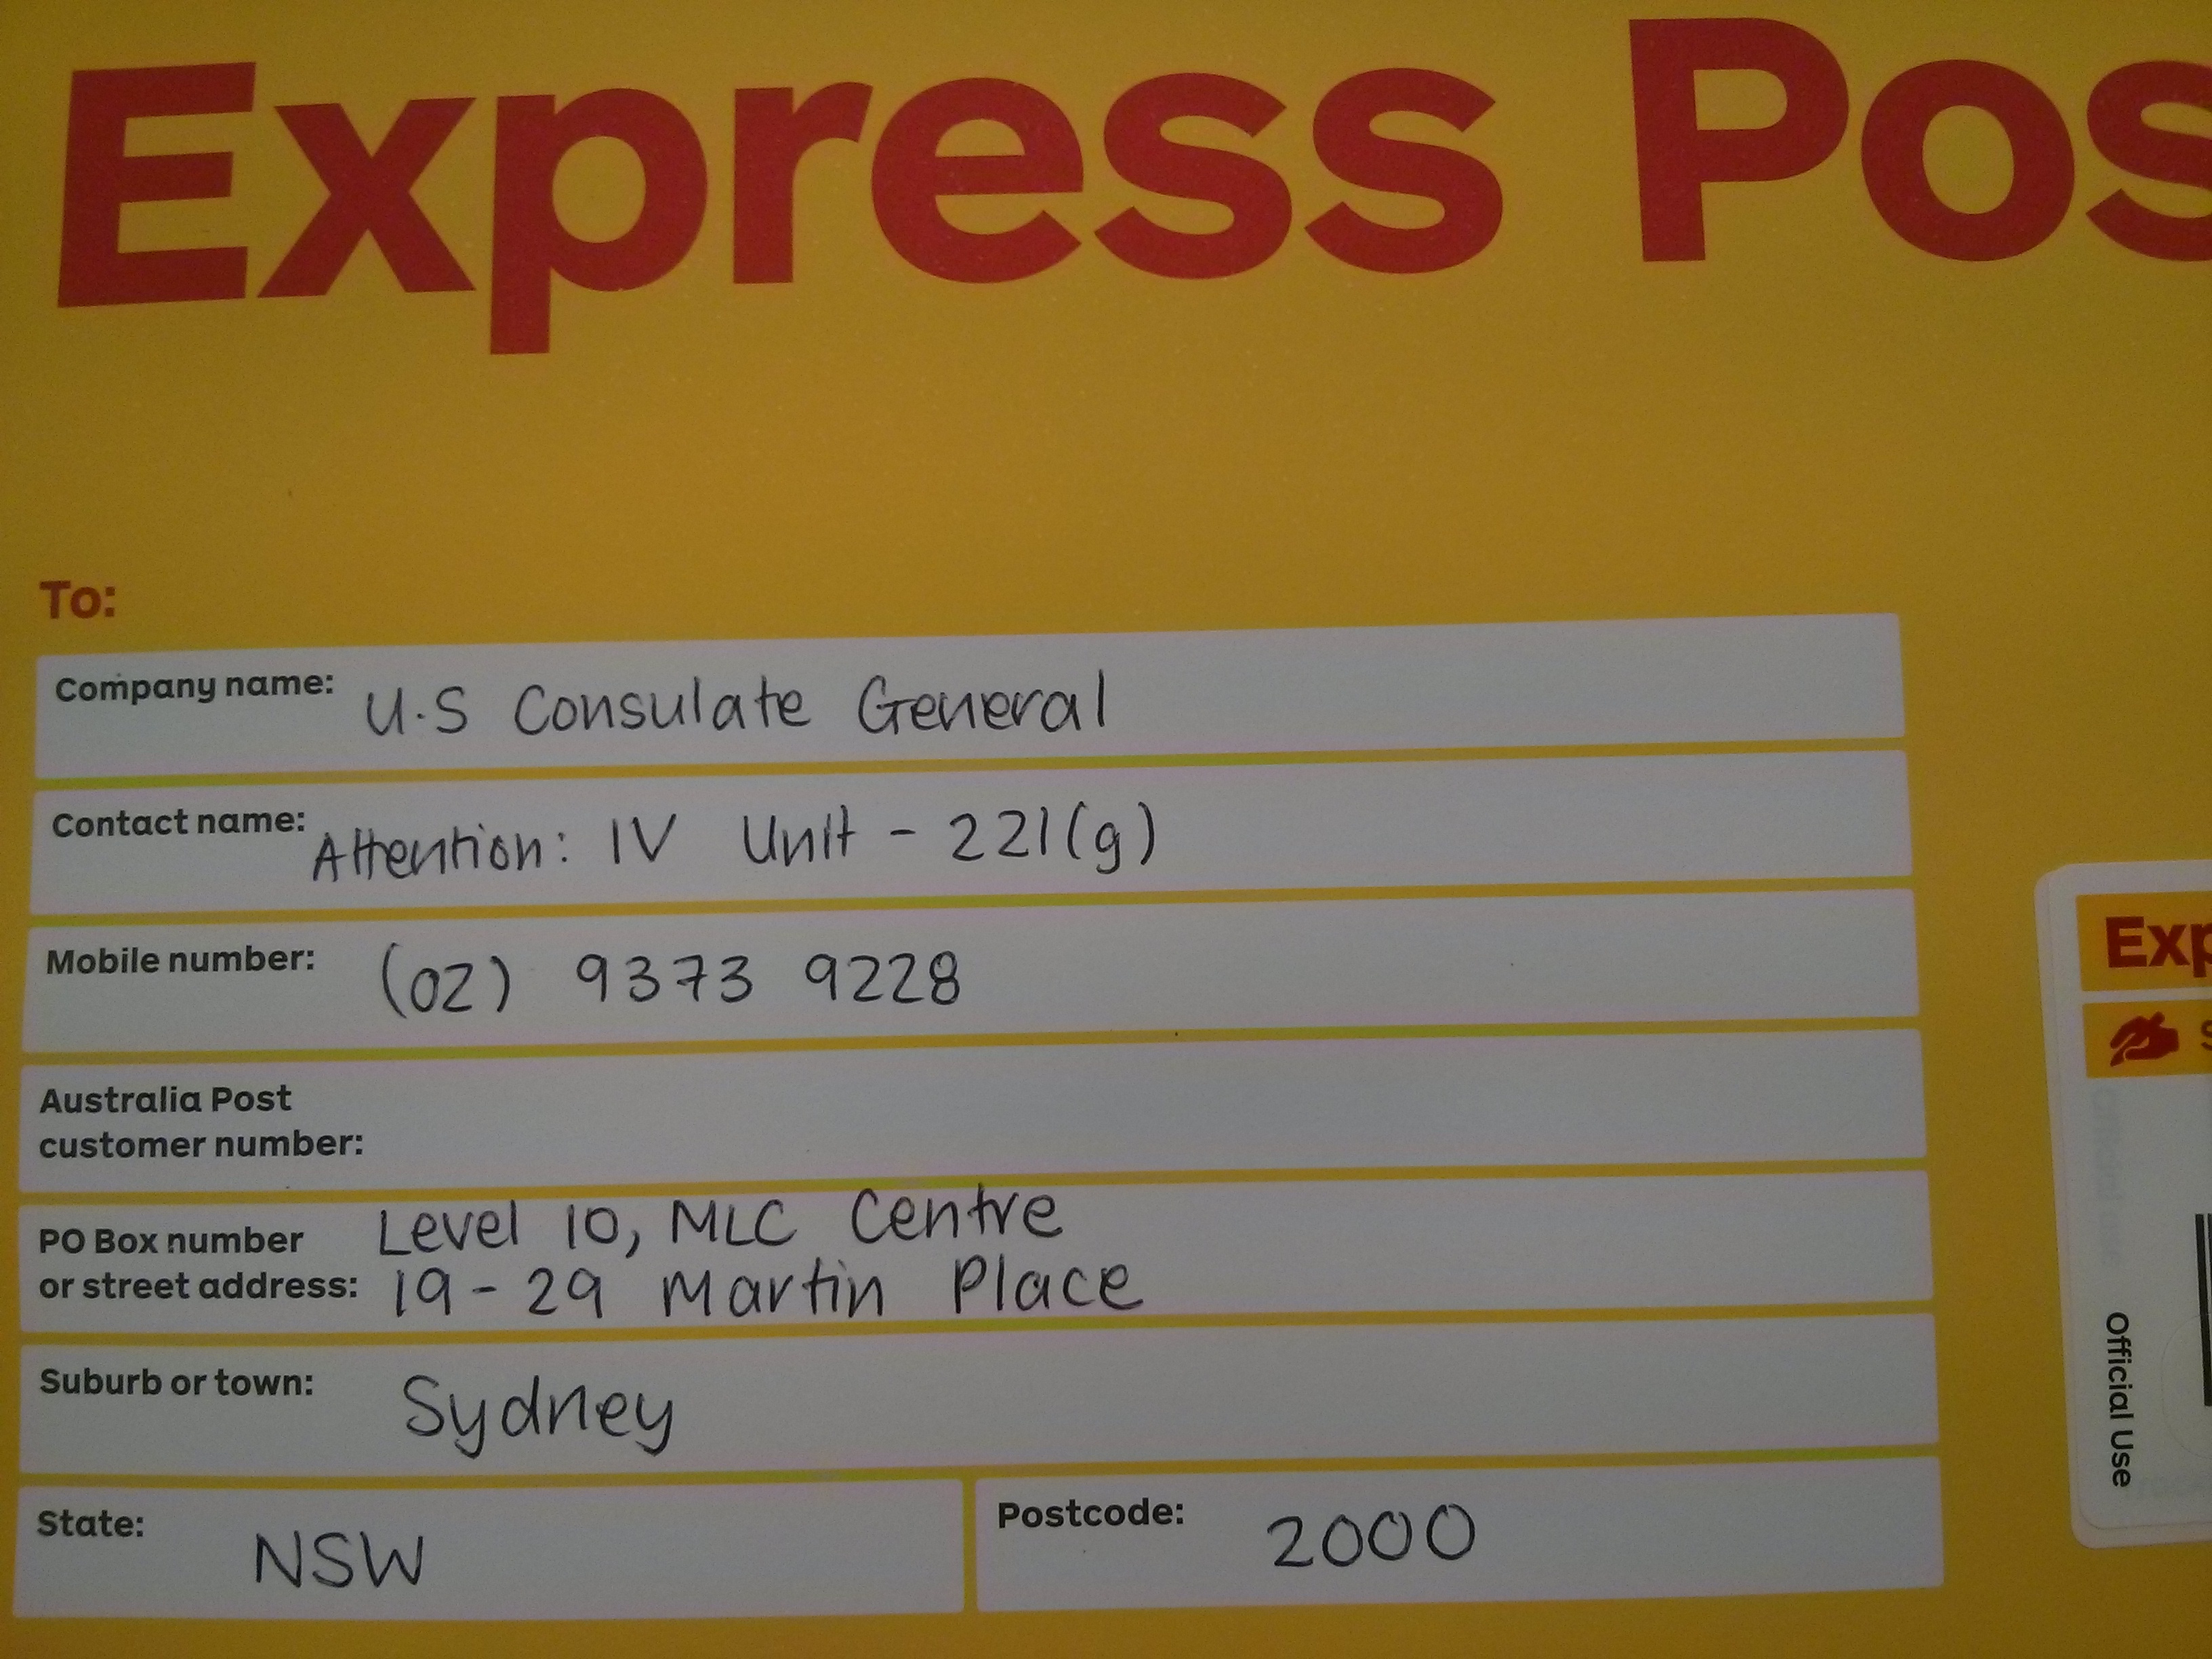
Addressed to go!
Cost: A$10.15 with registered mail, with tracking and signature on delivery (US$7.71 at A$0.76 to US$1)